
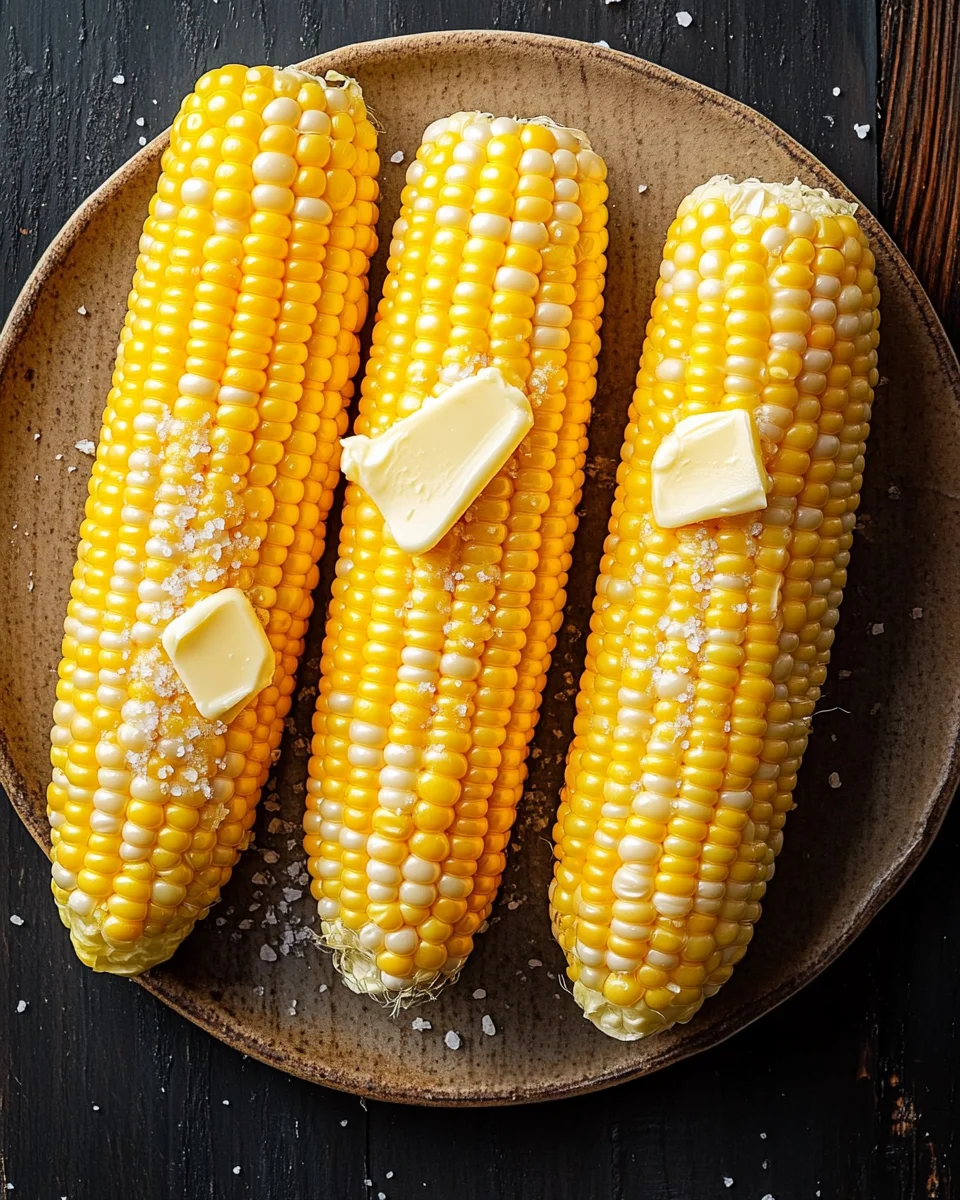
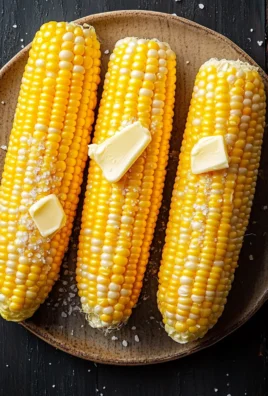
The Slickest Way To Cook Corn On The Cob And Leave Those Silks Behind is a game changer for any backyard barbecue or summer family gathering. This method not only enhances the sweet, buttery flavor of fresh corn but also makes it incredibly easy to prepare. Whether you’re hosting a picnic or enjoying a quiet dinner, this recipe will impress your guests with its simplicity and taste.
Why You’ll Love This Recipe
- Quick Cooking: Use the microwave for fast preparation without sacrificing flavor.
- Silk-Free Enjoyment: Say goodbye to pesky silks that can ruin your corn experience.
- Versatile Serving: Great for side dishes, salads, or even as a main attraction at summer meals.
- Minimal Cleanup: Less mess means more time to enjoy your delicious corn with family and friends.
- Flavorful Results: Retains the natural sweetness of the corn while making it tender and juicy.
Tools and Preparation
To make The Slickest Way To Cook Corn On The Cob And Leave Those Silks Behind efficiently, have the right tools ready. These tools will ensure that you achieve perfect results every time.
Essential Tools and Equipment
- Microwave
- Sharp knife
- Dish towel or oven mitts
- Large bowl
Importance of Each Tool
- Microwave: Speeds up cooking time significantly while keeping the corn moist.
- Sharp knife: Essential for cutting off any tough ends quickly and safely.
- Dish towel or oven mitts: Protects your hands from heat when handling hot corn.
Ingredients
Fresh Corn on the Cob
- Fresh corn on the cob
How to Make The Slickest Way To Cook Corn On The Cob And Leave Those Silks Behind
Step 1: Prepare the Corn
- Start by removing any loose husks from the corn.
- Use a sharp knife to cut off any tough ends.
Step 2: Place in Microwave
- Place the prepared corn directly into the microwave without any additional water or wrapping.
Step 3: Microwave
- Set your microwave on high for 3-5 minutes per ear of corn.
- Adjust time based on your microwave’s wattage; you want tender, hot corn.
Step 4: Cool and Serve
- Carefully use dish towels or oven mitts to remove hot corn from the microwave.
- Let it cool slightly before peeling back the husk.
- Enjoy your silk-free, delicious corn on the cob with butter and seasonings of your choice!
How to Serve The Slickest Way To Cook Corn On The Cob And Leave Those Silks Behind
Serving corn on the cob is all about enhancing its natural sweetness and enjoying it with the right accompaniments. Here are some delicious ways to serve your perfectly cooked corn on the cob.
Grab This Chef Knife Now - Almost Gone!
Fresh Herb Butter
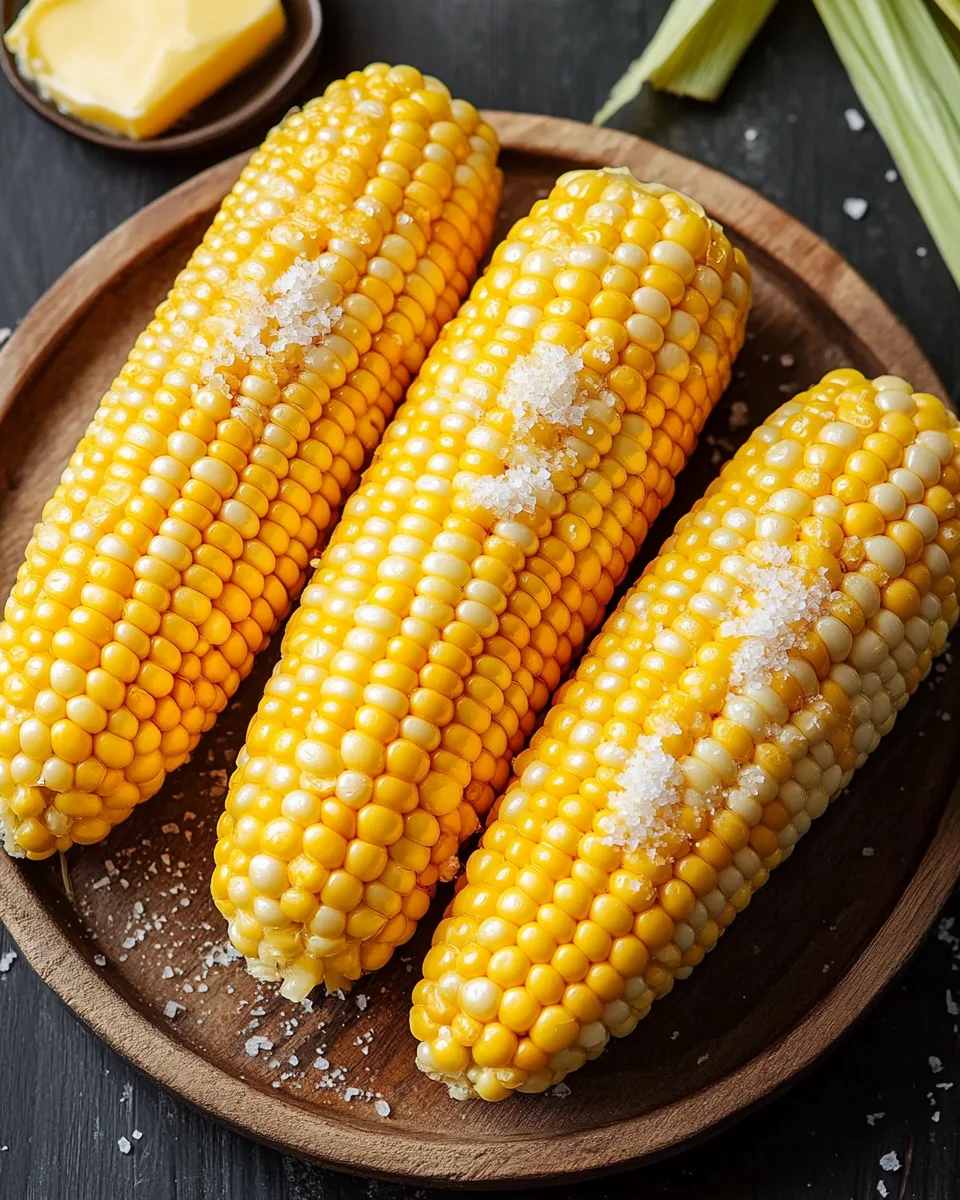
- Mix softened butter with chopped fresh herbs such as parsley, cilantro, or chives for an aromatic twist.
Spicy Lime Mayo
- Blend mayonnaise with lime juice and chili powder for a creamy, zesty topping that adds a kick.
Parmesan Cheese
- Grate fresh Parmesan over hot corn for a savory flavor boost that pairs well with the sweetness.
Classic Salt and Pepper
- Sometimes simple is best. Just sprinkle with sea salt and freshly cracked black pepper for traditional seasoning.
Garlic Oil Drizzle
- Warm olive oil infused with garlic and drizzle it over the corn for a rich, savory flavor.
BBQ Sauce Glaze
- Brush your corn with your favorite barbecue sauce for a sweet and tangy finish that’s perfect for summer cookouts.
How to Perfect The Slickest Way To Cook Corn On The Cob And Leave Those Silks Behind
Cooking corn on the cob in the microwave can be done flawlessly with a few handy tips. Here are some ways to ensure you achieve the best results.
-
Choose Fresh Corn: Always select ears of corn that are firm, plump, and have bright green husks for optimal flavor.
-
Leave the Husk On: Cooking the corn in its husk helps retain moisture and sweetness during microwaving.
-
Use a Damp Paper Towel: Wrapping each ear in a damp paper towel before microwaving keeps it moist and tender.
-
Microwave in Batches: If cooking multiple ears, microwave them one or two at a time to ensure even cooking.
-
Adjust Time for Size: Larger ears may require additional cooking time — typically 4–6 minutes per ear depending on wattage.
-
Let It Rest: Allow the corn to sit for a minute before peeling; this helps steam it further and makes it easier to handle.
Best Side Dishes for The Slickest Way To Cook Corn On The Cob And Leave Those Silks Behind
Pairing your sweet corn on the cob with delicious side dishes enhances any summer meal. Here are some great ideas to complement your dish.
-
Coleslaw: A crunchy, tangy slaw can balance out the sweetness of corn beautifully.
-
Grilled Vegetables: Seasonal veggies like zucchini and bell peppers grilled to perfection add vibrant flavors.
-
Potato Salad: Creamy potato salad brings comfort food vibes that pair wonderfully with corn on the cob.
-
Baked Beans: Sweet baked beans provide a hearty side that complements outdoor grilling.
-
Caprese Salad: Fresh tomatoes, mozzarella, and basil create a refreshing side that highlights summer flavors.
-
Cornbread: Sweet cornbread echoes the flavors of your main dish while providing delightful texture.
-
Cucumber Salad: A light cucumber salad adds crunch and brightness to balance rich flavors.
-
Deviled Eggs: Creamy deviled eggs can be an elegant addition to any summer spread alongside corn on the cob.
Common Mistakes to Avoid
When cooking corn on the cob, it’s easy to make mistakes that could ruin the experience. Here are some common pitfalls to avoid.
-
phrase: Not removing husks before microwaving – Leaving the husk on can trap moisture and make your corn soggy. Always remove the outer layers to ensure even cooking.
-
phrase: Overcooking the corn – Cooking for too long can lead to rubbery kernels. Stick to 4-5 minutes in the microwave for perfectly tender corn.
-
phrase: Skipping the soaking step – Soaking corn in water for a few minutes helps prevent dryness during cooking. This simple step makes a big difference.
-
phrase: Using metal containers – Never use metal in the microwave, as it can cause sparks or fires. Opt for microwave-safe glass or ceramic dishes instead.
Storage & Reheating Instructions
Refrigerator Storage
- Store cooked corn on the cob in an airtight container.
- Keep it in the refrigerator for up to 3 days.
- If possible, leave the kernels on the cob for better freshness.
Freezing The Slickest Way To Cook Corn On The Cob And Leave Those Silks Behind
- Blanch the corn before freezing for best results.
- Wrap each ear tightly in plastic wrap or aluminum foil.
- Freeze for up to 6 months for optimal flavor.
Reheating The Slickest Way To Cook Corn On The Cob And Leave Those Silks Behind
-
phrase: Oven – Preheat your oven to 350°F (175°C). Wrap corn in foil and heat for about 10-15 minutes until warm.
-
phrase: Microwave – Place corn with a little water in a microwave-safe dish and cover. Heat on high for 1-2 minutes, checking frequently.
-
phrase: Stovetop – Boil water and place corn in a steamer basket over it. Steam for about 5-7 minutes or until heated through.
Frequently Asked Questions
Here are some common questions regarding The Slickest Way To Cook Corn On The Cob And Leave Those Silks Behind.
How long should I cook corn on the cob in the microwave?
Cooking time typically ranges from 4-5 minutes, depending on your microwave’s wattage and size of the ears.
Can I cook frozen corn on the cob using this method?
Yes, you can cook frozen corn on the cob in the microwave! Just add an extra minute or two to your cooking time.
What is the best way to season cooked corn on the cob?
After cooking, try butter, salt, pepper, or even cheese! You can customize it with herbs or spices based on your taste.
Is there a way to cook fresh corn without silks?
The Slickest Way To Cook Corn On The Cob And Leave Those Silks Behind is designed specifically to help you avoid dealing with silks by cooking it in its husk!
Final Thoughts
Cooking corn on the cob using this method is not only easy but also enhances its natural sweetness. This versatile dish can be customized with various toppings and seasonings, making it perfect for any occasion. Give The Slickest Way To Cook Corn On The Cob And Leave Those Silks Behind a try—you’ll love how simple and delicious it is!

The Ultimate Silk-Free Corn on the Cob Recipe
- Total Time: 10 minutes
- Yield: Serves approximately 1 person per ear of corn
Description
Discover the easiest way to enjoy fresh, sweet corn on the cob without the hassle of silks! This method uses your microwave for a quick and effortless cooking experience, perfect for summer barbecues, picnics, or family dinners. In just a few simple steps, you can serve up tender and juicy corn that retains its natural sweetness. Customize your corn with various toppings to impress your guests and elevate any meal. Say goodbye to messy preparations and hello to delicious silk-free corn on the cob.
Ingredients
- Fresh corn on the cob
Instructions
- Remove any loose husks from each ear of corn.
- Cut off any tough ends using a sharp knife.
- Place the prepared corn directly in the microwave (do not wrap or add water).
- Microwave on high for 3-5 minutes per ear, adjusting based on wattage.
- Carefully remove the hot corn using dish towels or oven mitts.
- Allow to cool slightly, peel back the husk, and enjoy with your favorite seasonings.
- Prep Time: 5 minutes
- Cook Time: 5 minutes
- Category: Side Dish
- Method: Microwaving
- Cuisine: American
Nutrition
- Serving Size: 1 ear (100g)
- Calories: 86
- Sugar: 4g
- Sodium: 2mg
- Fat: 1g
- Saturated Fat: 0g
- Unsaturated Fat: 0g
- Trans Fat: 0g
- Carbohydrates: 19g
- Fiber: 2g
- Protein: 3g
- Cholesterol: 0mg
The Salad Bowls Amazon Chose and Customers Love!
Leave a Comment