
This Simple Cherry Pie Filling is a delightful addition to your dessert repertoire. Perfect for summer gatherings or cozy family dinners, this filling brings the sweet and tart flavor of cherries right to your table. Whether you’re topping it on a classic pie, drizzling it over pancakes, or adding it to yogurt, its versatility will impress everyone. With just a few ingredients and minimal prep time, you’ll find this recipe becomes a staple in your kitchen.
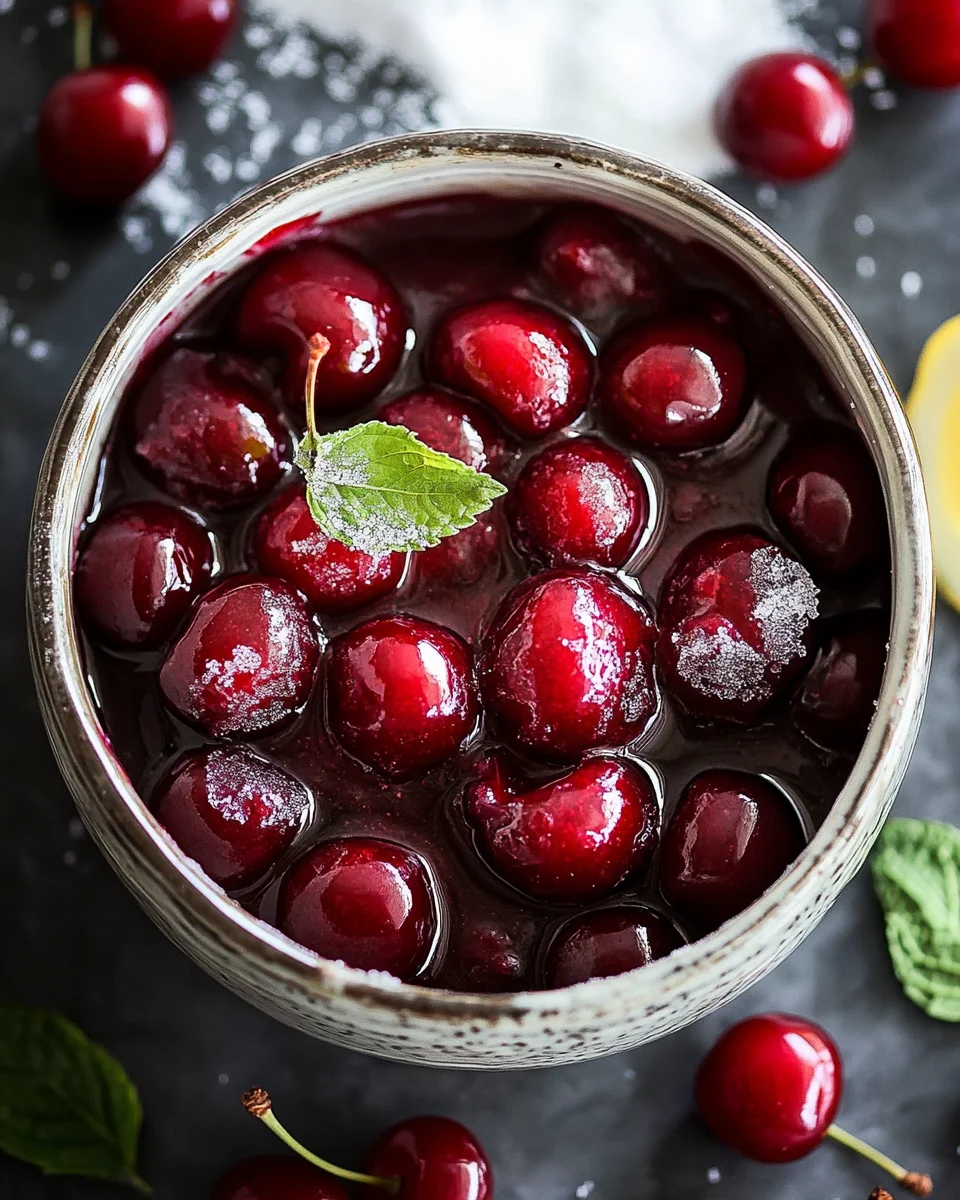
Why You’ll Love This Recipe
- Quick and Easy: This cherry pie filling can be made in just 20 minutes, making it an ideal choice for last-minute desserts.
- Versatile Use: Not only great for pies, but also delicious on pancakes, ice cream, or as a topping for yogurt.
- Fresh Flavor: Made with sweet cherries and simple ingredients, this filling bursts with natural cherry flavor.
- Homemade Goodness: Skip the store-bought options and enjoy the satisfaction of crafting your own delicious cherry filling.
Tools and Preparation
Before diving into the recipe, gather your tools to ensure a smooth cooking experience. Having everything ready will make the process quicker and more enjoyable.
Essential Tools and Equipment
- Cherry pitter
- Large saucepan
- Mixing spoon
- Measuring cups
- Measuring spoons
Importance of Each Tool
- Cherry pitter: This tool makes pitting cherries fast and mess-free. It saves time and ensures you can enjoy your cherries without any hassle.
- Large saucepan: A spacious pan allows you to mix all the ingredients properly while preventing spills during cooking.
Ingredients
For the Filling
- 6 cups sweet cherries pitted
- 3/4 cup water
- 1 1/2 tablespoons lemon juice
- 3/4 cup granulated sugar
- 1/4 cup cornstarch
- 1/4 teaspoon vanilla extract
How to Make Simple Cherry Pie Filling
Step 1: Prepare the Cherries
- Using a cherry pitter, pit 6 cups of sweet cherries into a bowl.
Step 2: Combine Ingredients
- Add the pitted cherries to a large saucepan.
- Pour in 3/4 cup water, followed by 1 1/2 tablespoons lemon juice.
- Add 3/4 cup granulated sugar, then sprinkle in 1/4 cup cornstarch.
- Finally, add 1/4 teaspoon vanilla extract.
Step 3: Cook the Mixture
- Give everything a thorough mix until well combined.
- Bring the mixture to a boil over medium heat.
- Once boiling, reduce the heat to low and let it simmer for about 10 minutes while stirring frequently.
This simple cherry pie filling is now ready! Enjoy it warm or chilled according to your preference.
Thousands of Happy Customers Can't Be Wrong About These Bowls!
How to Serve Simple Cherry Pie Filling
This simple cherry pie filling is incredibly versatile and can elevate many dishes. Here are some delightful ways to enjoy this sweet and tangy topping.
Over Yogurt
- Plain Yogurt: Add a generous scoop of cherry pie filling over plain yogurt for a delicious breakfast or snack.
- Greek Yogurt Parfait: Layer cherry filling with Greek yogurt and granola for a wholesome parfait.
With Pancakes
- Buttermilk Pancakes: Drizzle the cherry filling over fluffy buttermilk pancakes for a sweet morning treat.
- Crepes: Fill crepes with cherry pie filling and top with whipped cream for an indulgent dessert.
As a Topping
- Ice Cream: Spoon warm cherry filling over vanilla ice cream for a classic sundae.
- Popsicles: Freeze the filling into popsicle molds for a refreshing summer treat.
In Desserts
- Cheesecake: Use the cherry filling as a topping for cheesecake, creating a beautiful contrast of flavors.
- Cobbler: Fold the cherry filling into biscuit dough to make an easy cobbler.
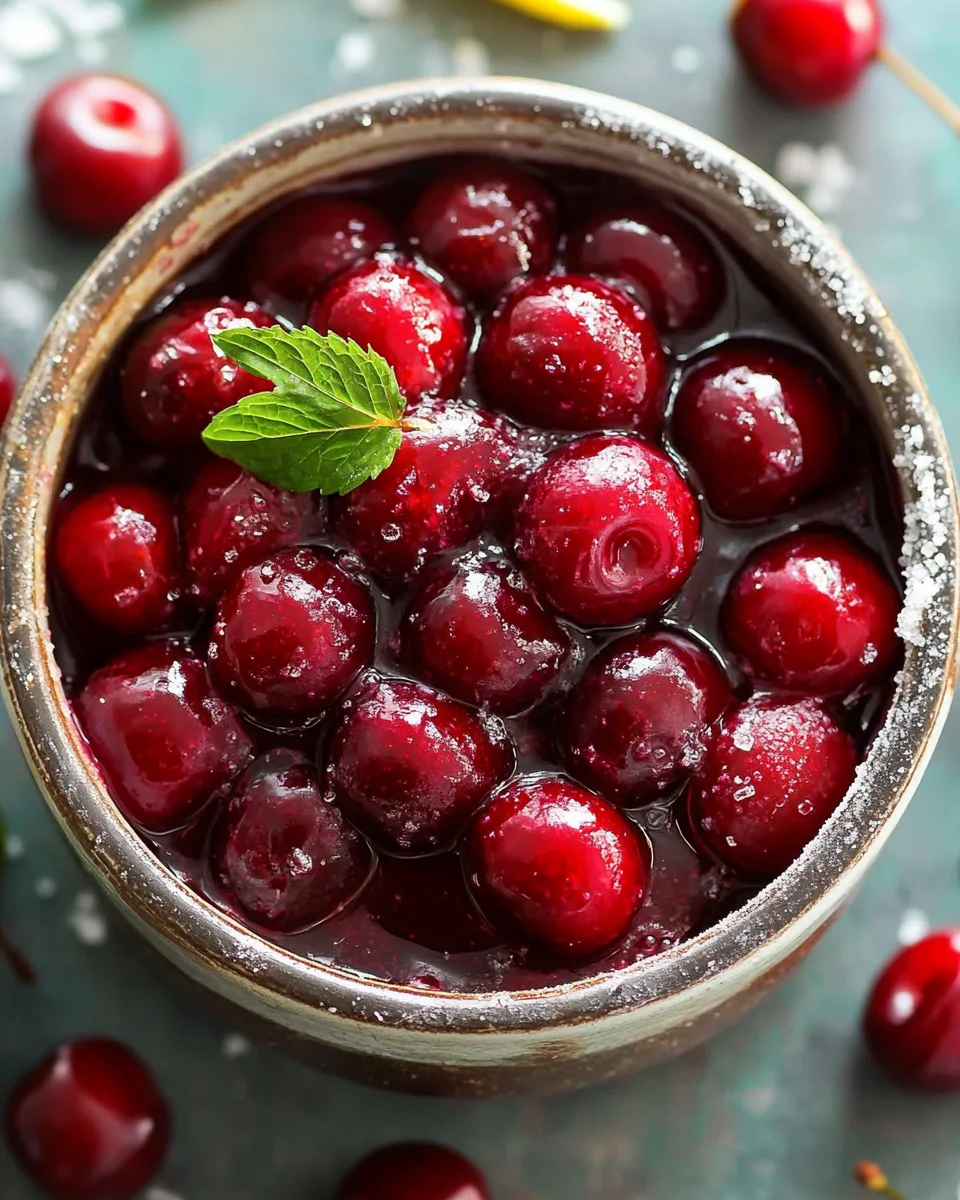
How to Perfect Simple Cherry Pie Filling
To ensure your simple cherry pie filling turns out perfectly every time, follow these helpful tips.
- Use Fresh Cherries: Fresh cherries provide the best flavor. Look for sweet, ripe cherries to enhance your filling’s taste.
- Adjust Sweetness: Depending on your preference, feel free to adjust the sugar amount. If you prefer it less sweet, reduce the sugar by 1/4 cup.
- Thickening Consistency: If you like a thicker filling, add more cornstarch gradually until you reach your desired consistency.
- Add Spices: For extra depth, consider adding a pinch of cinnamon or nutmeg to complement the flavor of cherries.
- Cool Before Serving: Allow the filling to cool before using it in desserts or toppings; this helps thicken it further.
- Store Properly: Keep leftover cherry pie filling in an airtight container in the fridge for up to one week.
Best Side Dishes for Simple Cherry Pie Filling
Pairing side dishes with your simple cherry pie filling can create an unforgettable meal experience. Here are some great options:
- Vanilla Ice Cream: A scoop of creamy vanilla ice cream complements the tartness of the cherries beautifully.
- Shortcake Biscuits: Fluffy shortcakes serve as a delightful base for the cherry topping, making for a classic dessert combo.
- Scones: Serve warm scones alongside a bowl of cherry pie filling for a charming brunch idea.
- Pancakes: Beyond just serving it on top, fluffy pancakes can be served on the side for dipping into the sweet sauce.
- Oatmeal: Stirring in some cherry pie filling into oatmeal creates a fruity breakfast option packed with flavor.
- Cheesecake Bites: These mini desserts provide an excellent balance when paired with rich chocolate or plain cheesecake bites.
Common Mistakes to Avoid
When making Simple Cherry Pie Filling, it’s important to avoid common pitfalls for the best results. Here are some mistakes to watch out for:
-
Using unpitted cherries: Always pit your cherries before cooking. Unpitted cherries can lead to an unpleasant texture and flavor in your filling.
-
Skipping the cornstarch: Cornstarch is essential for thickening your filling. Without it, your pie might end up runny.
-
Not adjusting sugar levels: Cherries can vary in sweetness. Taste your filling before adding all the sugar and adjust accordingly for perfect balance.
-
Overcooking the mixture: Cooking too long can break down the cherries and make them mushy. Simmer just until thickened for the best consistency.
-
Ignoring cooling time: Letting your cherry filling cool completely before using helps it set properly. This prevents a soupy pie when baked.
Storage & Reheating Instructions
Refrigerator Storage
- Store in an airtight container for up to 5 days.
- Allow the filling to cool completely before sealing it in a container.
Freezing Simple Cherry Pie Filling
- Freeze for up to 3 months for best quality.
- Use freezer-safe containers or resealable bags, leaving some space for expansion.
Reheating Simple Cherry Pie Filling
- Oven: Preheat to 350°F (175°C) and bake covered until heated through, about 15-20 minutes.
- Microwave: Heat in short intervals of 30 seconds, stirring in between until hot.
- Stovetop: Warm on low heat, stirring frequently until heated evenly.
Frequently Asked Questions
How do I make Simple Cherry Pie Filling?
To make Simple Cherry Pie Filling, pit sweet cherries and combine them with water, lemon juice, sugar, cornstarch, and vanilla extract in a saucepan. Bring to a boil and simmer until thickened.
Can I use frozen cherries for this recipe?
Yes! You can use frozen cherries. Just thaw them first and drain any excess liquid before using in the recipe.
What desserts can I use Simple Cherry Pie Filling with?
Simple Cherry Pie Filling is versatile; try it over ice cream, yogurt, pancakes, or as a topping on cheesecakes and pastries.
How do I thicken my cherry pie filling further?
If you prefer a thicker filling, mix an additional teaspoon of cornstarch with a little cold water and stir it into the simmering mixture until thickened.
Final Thoughts
This Simple Cherry Pie Filling recipe is not only quick but also incredibly versatile. It pairs wonderfully with various desserts or as a topping for breakfast items like pancakes or yogurt. Feel free to customize it by adding spices like cinnamon or almond extract to enhance its flavor even more! Give this delicious recipe a try today!

Simple Cherry Pie Filling
- Total Time: 20 minutes
- Yield: Approximately 6 servings (1/4 cup each) 1x
Description
Discover the joy of homemade Simple Cherry Pie Filling, a versatile and delightful addition to your dessert repertoire. This quick recipe captures the sweet and tart essence of fresh cherries in just 20 minutes, making it perfect for warm summer days or cozy family gatherings. Whether you’re drizzling it over pancakes, dolloping it on yogurt, or using it as a pie filling, the luscious cherry flavor will impress your guests and satisfy your sweet tooth. With minimal ingredients and effortless preparation, this cherry filling is bound to become a staple in your kitchen.
Ingredients
- 6 cups sweet cherries (pitted)
- 3/4 cup water
- 1 1/2 tablespoons lemon juice
- 3/4 cup granulated sugar
- 1/4 cup cornstarch
- 1/4 teaspoon vanilla extract
Instructions
- Pit the cherries and place them in a large saucepan.
- Add water, lemon juice, sugar, cornstarch, and vanilla extract.
- Mix well and bring to a boil over medium heat.
- Once boiling, reduce heat to low and simmer for about 10 minutes, stirring frequently until thickened.
- Prep Time: 10 minutes
- Cook Time: 10 minutes
- Category: Dessert
- Method: Cooking
- Cuisine: American
Nutrition
- Serving Size: 1/4 cup (60g)
- Calories: 85
- Sugar: 16g
- Sodium: 2mg
- Fat: 0g
- Saturated Fat: 0g
- Unsaturated Fat: 0g
- Trans Fat: 0g
- Carbohydrates: 21g
- Fiber: 1g
- Protein: <1g
- Cholesterol: 0mg
Thousands of Happy Customers Can't Be Wrong About These Bowls!

Leave a Comment