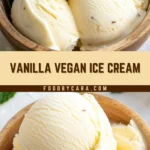
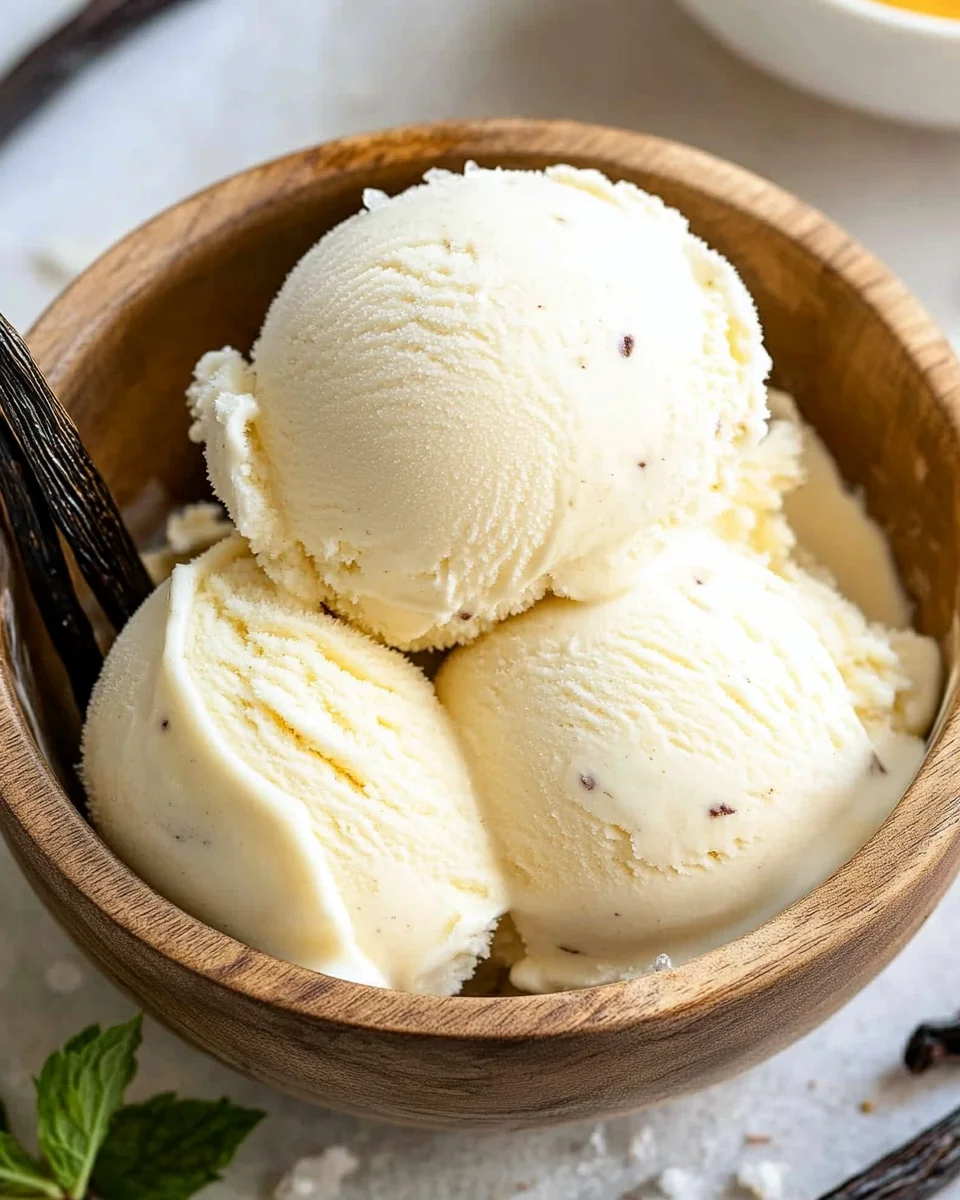
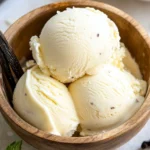
This Vanilla Vegan Ice Cream is a delightful treat that’s perfect for any occasion. Whether you’re enjoying a sunny day or celebrating a special moment, this creamy dessert made from coconut milk, maple syrup, and vanilla is sure to impress. It stands out with its rich texture and natural sweetness, making it an excellent choice on its own or as a topping for your favorite desserts.
Why You’ll Love This Recipe
- Simple to Make: With just a few ingredients and easy steps, you can whip up this ice cream in no time.
- Rich and Creamy Texture: The full-fat coconut milk gives this ice cream a luxurious feel that rivals traditional dairy versions.
- Naturally Sweetened: Using pure maple syrup means you get great flavor without refined sugars.
- Versatile Serving Options: Enjoy it on its own or pair it with brownies, cakes, or fresh fruit for an indulgent dessert experience.
- Dairy-Free Delight: Perfect for those following vegan diets or anyone with lactose intolerance.
Tools and Preparation
To make your Vanilla Vegan Ice Cream smoothly, having the right tools is essential.
Essential Tools and Equipment
- Ice cream maker
- Blender
- Measuring cups
- Measuring spoons
- Freezer-safe container
Importance of Each Tool
- Ice cream maker: This tool churns the mixture to incorporate air, giving your ice cream a light and creamy texture.
- Blender: A high-speed blender ensures all ingredients are smoothly combined for a silky finish.
- Freezer-safe container: Storing your ice cream in an airtight container prevents freezer burn and keeps it fresh longer.
Ingredients
For the Base
- 2 (13.5 ounce) cans full-fat coconut milk
- 3/4 cup pure maple syrup
- 1 tablespoon vanilla extract
- 1/8 teaspoon sea salt (optional)
How to Make Vanilla Vegan Ice Cream
Step 1: Prepare Your Ice Cream Maker
If using an electric ice cream maker, freeze the bowl for at least 24 hours before starting.
Thousands of Happy Customers Can't Be Wrong About These Bowls!
Step 2: Blend the Ingredients
In a blender, combine the following:
1. Coconut milk
2. Maple syrup
3. Vanilla extract
4. Sea salt (if using)
Blend for about 1 minute until fully smooth and well combined.
Step 3: Churn the Mixture
Turn on the ice cream maker. Slowly pour the blended mixture into the ice cream maker while it is running.
Churn for about 20 minutes, or until it reaches a soft-serve consistency.
Step 4: Freeze for Firmness
Serve immediately as soft serve, or transfer to a container with a lid.
Freeze for 3–4 hours if you prefer a firmer texture.
Step 5: Serve and Enjoy!
Before serving after freezing, let it sit for a few minutes to soften for easier scooping. Enjoy your homemade Vanilla Vegan Ice Cream!
How to Serve Vanilla Vegan Ice Cream
Vanilla vegan ice cream is a deliciously versatile treat that can be enjoyed in many ways. Whether you are having it on its own or as a part of a dessert ensemble, here are some serving suggestions to enhance your experience.
In a Classic Cone
- A classic waffle cone pairs perfectly with the creamy texture of vanilla vegan ice cream, making it a fun and nostalgic treat.
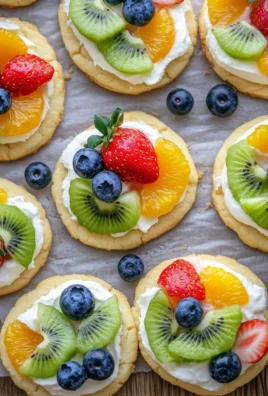
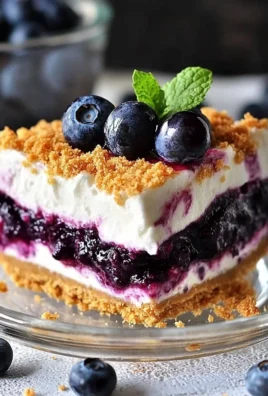
With Fresh Berries
- Top your vanilla vegan ice cream with fresh strawberries, blueberries, or raspberries for a burst of color and flavor.
As an Ice Cream Sundae
- Create an indulgent sundae by adding your favorite toppings such as crushed nuts, chocolate sauce, and whipped coconut cream.
Between Cookies
- Sandwich scoops of vanilla vegan ice cream between two cookies for a delightful ice cream sandwich that’s perfect for any occasion.
Drizzled with Caramel Sauce
- Enhance the sweetness by drizzling homemade or store-bought caramel sauce over your scoop of vanilla vegan ice cream.
In a Milkshake
- Blend vanilla vegan ice cream with non-dairy milk and fruit for a creamy milkshake that makes for a refreshing drink.

How to Perfect Vanilla Vegan Ice Cream
To achieve the ideal texture and flavor for your vanilla vegan ice cream, consider these helpful tips.
- Choose Quality Coconut Milk: Opt for full-fat coconut milk with no additives for a richer and creamier base.
- Chill Ingredients: Before blending, chill your coconut milk and other ingredients to help them blend smoothly.
- Use an Ice Cream Maker: An ice cream maker ensures even churning and prevents ice crystals from forming, leading to a smoother consistency.
- Taste Before Freezing: Adjust sweetness or flavor as needed before freezing; this allows you to customize to your liking.
- Let It Soften Before Serving: Allow the frozen ice cream to sit at room temperature for a few minutes before scooping for easier serving.
- Store Properly: Keep the ice cream in an airtight container to prevent freezer burn and maintain its creamy texture.
Best Side Dishes for Vanilla Vegan Ice Cream
Pairing side dishes with vanilla vegan ice cream can elevate your dessert experience. Here are some tasty options to consider:
- Chocolate Chip Cookies: Soft, chewy cookies offer the perfect contrast to the cold and creamy texture of the ice cream.
- Brownies: Rich brownies topped with warm chocolate sauce complement the lightness of vanilla vegan ice cream beautifully.
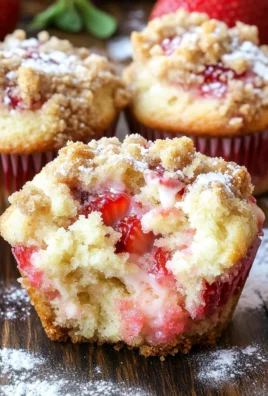
- Fruit Salad: A refreshing fruit salad adds brightness and balance to your dessert platter.
- Pecan Pie Bars: The nutty sweetness of pecan pie bars pairs wonderfully with creamy vanilla flavors.
- Apple Crisp: Warm apple crisp served alongside cold vanilla vegan ice cream creates an irresistible combination.
- Coconut Macaroons: These chewy treats echo the coconut base of the ice cream while adding extra flavor depth.
Common Mistakes to Avoid
Making vanilla vegan ice cream can be easy, but there are a few common pitfalls to watch out for. Here are some mistakes to avoid for the best results.
- Overmixing the Ingredients: Blending too long can introduce excess air, making your ice cream fluffy instead of creamy. Blend just until smooth and combined.
- Skipping the Freezing Time: Not freezing the ice cream maker bowl for at least 24 hours can lead to a soupy mixture. Always ensure your bowl is properly frozen before starting.
- Using Low-Quality Coconut Milk: Some coconut milk brands contain additives that affect texture. Opt for full-fat coconut milk without added ingredients for the best creamy consistency.
- Not Letting It Soften Before Serving: If you serve immediately after freezing, the ice cream may be too hard. Allow it to sit out for a few minutes before scooping for easier serving.
- Ignoring Flavor Variations: Sticking strictly to vanilla can limit your enjoyment. Experiment with different extracts or mix-ins like chocolate chips or fruits to customize your vegan ice cream.
Storage & Reheating Instructions
Refrigerator Storage
- Keep in an airtight container: Store leftover vanilla vegan ice cream in a sealed container.
- Consume within 1 week: For the best flavor and texture, eat within a week of making it.
Freezing Vanilla Vegan Ice Cream
- Use a freezer-safe container: Make sure to use a container that seals tightly to prevent freezer burn.
- Lasts up to 2 months: Properly stored, this ice cream can stay fresh in the freezer for about two months.
Reheating Vanilla Vegan Ice Cream
- Oven: This method isn’t applicable as ice cream should not be heated in an oven.
- Microwave: Heat in short intervals (10-15 seconds) on low power. Check often to avoid melting too much.
- Stovetop: Place in a saucepan over low heat. Stir continuously until softened, but avoid warming it too much.
Frequently Asked Questions
What is Vanilla Vegan Ice Cream made from?
Vanilla vegan ice cream is made primarily from coconut milk, maple syrup, and vanilla extract, making it dairy-free and rich in flavor.
Can I make Vanilla Vegan Ice Cream without an ice cream maker?
Yes! You can mix all ingredients and place them in a freezer-safe container. Stir every 30 minutes until it reaches desired consistency.
How do I customize my Vanilla Vegan Ice Cream?
You can add mix-ins like chocolate chips, nuts, or fruit during the last few minutes of churning or blend them into the base before freezing.
Is this Vanilla Vegan Ice Cream healthy?
While it’s still a dessert, using natural ingredients like coconut milk and maple syrup makes it a healthier alternative to traditional ice creams.
How long does it take to freeze Vanilla Vegan Ice Cream?
After churning, you should freeze the mixture for about 3–4 hours for a firmer texture.
Final Thoughts
This homemade vanilla vegan ice cream is not only delicious but also versatile enough for any occasion. It offers a rich and creamy texture that everyone will love, whether enjoyed alone or paired with other desserts. Feel free to experiment with flavors and toppings to make it your own!
Vanilla Vegan Ice Cream
- Total Time: 30 minutes
- Yield: Approximately 4 servings 1x
Description
Indulge in a refreshing and creamy Vanilla Vegan Ice Cream that promises to delight your taste buds with every scoop. This simple yet luxurious dessert is crafted from wholesome ingredients, including rich coconut milk, pure maple syrup, and aromatic vanilla extract, making it the perfect treat for any occasion. Whether you’re enjoying a sunny afternoon or celebrating a special event, this dairy-free ice cream will impress friends and family alike. Serve it on its own or elevate your desserts by pairing it with brownies or fresh fruit for an irresistible combination.
Ingredients
- 2 cans full-fat coconut milk (13.5 ounces each)
- 3/4 cup pure maple syrup
- 1 tablespoon vanilla extract
- 1/8 teaspoon sea salt (optional)
Instructions
- Freeze your ice cream maker bowl for at least 24 hours.
- In a blender, combine coconut milk, maple syrup, vanilla extract, and sea salt until smooth.
- Pour the mixture into the running ice cream maker and churn for about 20 minutes until soft-serve consistency.
- For firmer ice cream, transfer to an airtight container and freeze for 3-4 hours before serving.
- Allow to soften for a few minutes before scooping.
- Prep Time: 10 minutes
- Cook Time: 20 minutes
- Category: Dessert
- Method: Churning
- Cuisine: Vegan
Nutrition
- Serving Size: 1/2 cup (120g)
- Calories: 230
- Sugar: 16g
- Sodium: 20mg
- Fat: 15g
- Saturated Fat: 13g
- Unsaturated Fat: 2g
- Trans Fat: 0g
- Carbohydrates: 23g
- Fiber: 0g
- Protein: 2g
- Cholesterol: 0mg
Thousands of Happy Customers Can't Be Wrong About These Bowls!
Leave a Comment