
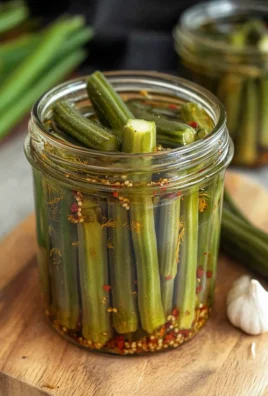
This pickled okra recipe is a delightful way to preserve the fresh taste of summer! With its vibrant crunch and zesty flavor, pickled okra makes a perfect addition to salads, sandwiches, or as a stand-alone snack. Easy to prepare and suitable for various occasions, this homemade treat stands out for its delightful combination of spices and simplicity.
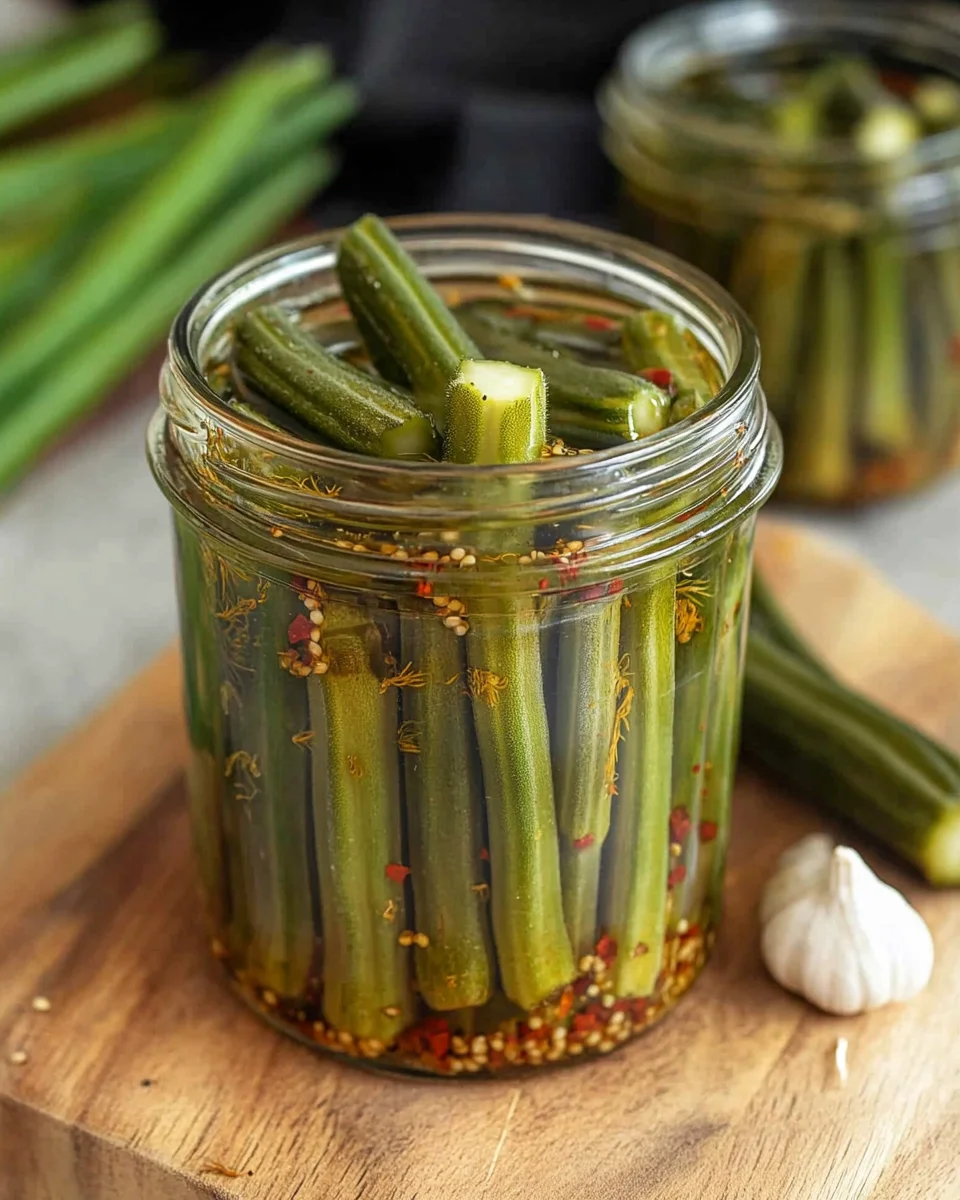
Why You’ll Love This Recipe
- Quick Preparation: This recipe takes only 25 minutes from start to finish, making it a convenient option for busy days.
- Flavorful Experience: The combination of vinegar, dill, and garlic infuses the okra with a tangy taste that elevates every dish.
- Versatile Use: Enjoy pickled okra as a side dish, snack, or topping on your favorite meals.
- Long-Lasting: Properly sealed jars can last in your refrigerator for weeks, allowing you to enjoy the freshness long after summer ends.
- Healthy Snack Option: Packed with vitamins and low in calories, pickled okra is a nutritious choice for any time of day.
Tools and Preparation
Having the right tools makes the process of pickling okra smooth and enjoyable. Here’s what you’ll need to get started.
Essential Tools and Equipment
- Canner
- Jars
- Lids and bands
- Pot
- Measuring cups
Importance of Each Tool
- Canner: Essential for safely processing jars to ensure they seal properly.
- Jars: Glass jars are perfect for storing your pickled okra while keeping it fresh.
- Lids and Bands: These keep jars airtight, preventing spoilage.
Ingredients
For the Pickled Okra
- Okra
- 1 quart white vinegar
- 1 quart water
- 1/2 cup pickling salt
- 1 tsp dill seed
- 1 pod red pepper or 1/8 tsp cayenne pepper
- 3 garlic cloves
How to Make Pickled Okra
Step 1: Prepare the Brine
Mix vinegar, water, and pickling salt in a pot and bring to a boil.
The Salad Bowls Amazon Chose and Customers Love!
Step 2: Wash the Okra
Wash your okra thoroughly and set aside.
Step 3: Prepare the Canner
Bring a canner filled with water to a simmer with jars inside.
Step 4: Clean Lids and Bands
Wash lids and bands with warm soapy water to ensure cleanliness.
Step 5: Fill the Jars
Remove one jar at a time from the canner. Add:
1. 1 tsp dill seed,
2. 1 pod red pepper or 1/8 tsp cayenne pepper,
3. 3 garlic cloves.
Then pack the okra into the jar tightly after adding seasoning.
Step 6: Add Brine
Pour in brine until about 1/2 inch headspace remains after removing all air bubbles.
Step 7: Seal the Jar
Wipe the rim of each jar clean before adding the band and lid.
Step 8: Process Jars
Place jars back in the canner and repeat until all jars are full or your okra is gone. Process jars in boiling water canner for 15 minutes.
Step 9: Cool Down
Remove pot from heat and allow it to sit for an additional 5 minutes before removing jars. Let them cool completely.
Step 10: Check Seals
After 24 hours, check that each jar has sealed properly before storing them away.
How to Serve Pickled Okra
Pickled okra is a versatile dish that can enhance many meals. Its tangy flavor and crunchy texture make it a delightful addition to various dishes.
As a Snack
- Enjoy pickled okra straight from the jar for a quick, healthy snack full of flavor.
In Salads
- Add slices of pickled okra to salads for an extra crunch and zesty kick.
With Sandwiches
- Use pickled okra as a topping for sandwiches or burgers, providing a unique twist to classic recipes.
In Tacos
- Incorporate pickled okra into tacos for an unexpected burst of flavor that complements meats and veggies alike.
As a Garnish
- Use whole pickled okra as a garnish for cocktails like Bloody Marys, adding both taste and visual appeal.
On Charcuterie Boards
- Include pickled okra on charcuterie boards alongside cheeses and cured meats for an enticing appetizer spread.
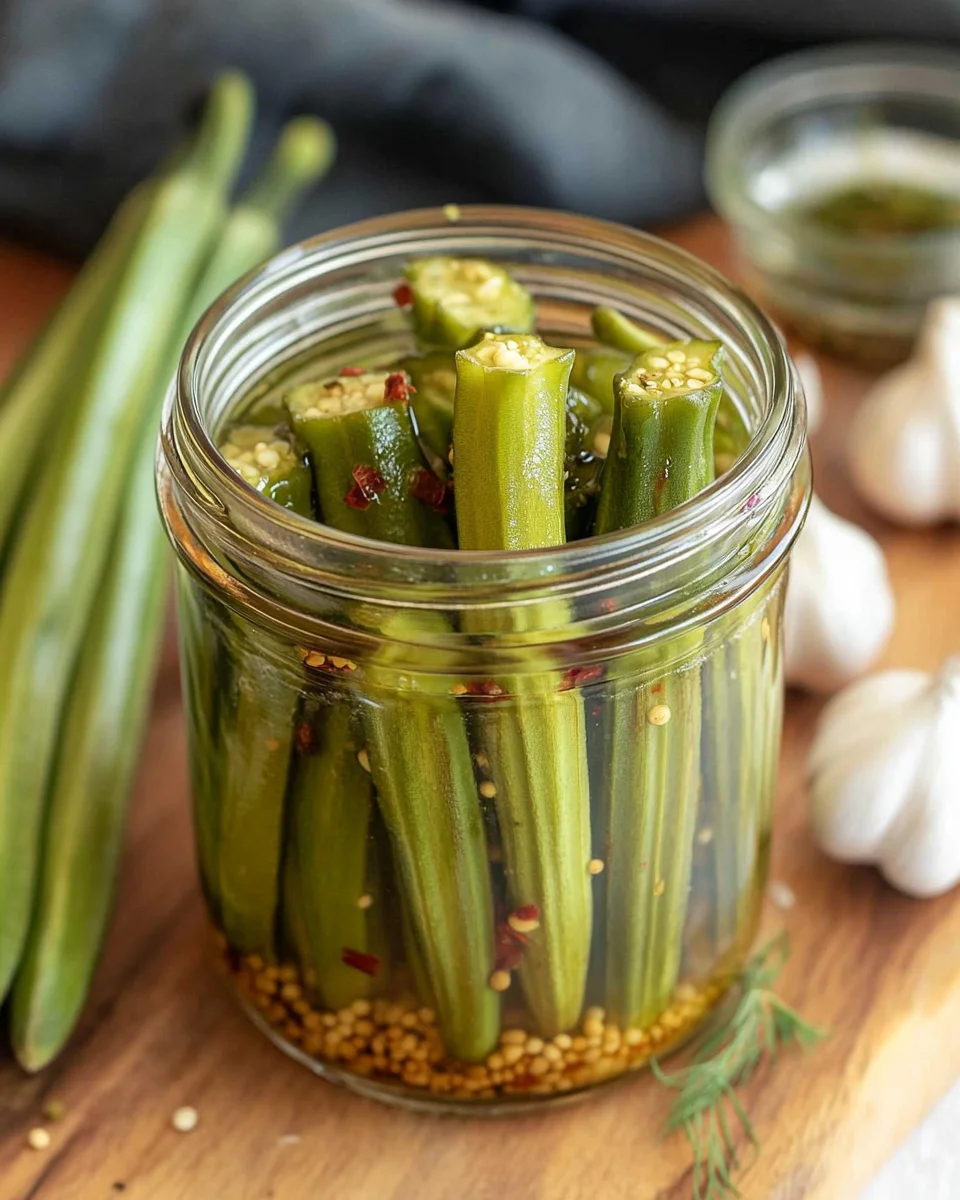
How to Perfect Pickled Okra
Perfecting your pickled okra can take this dish from good to great. Here are some tips to ensure success:
- Use fresh ingredients: Fresh, young okra will provide the best texture and flavor in your pickling process.
- Adjust spice levels: Feel free to modify the amount of red pepper or cayenne pepper for desired heat.
- Experiment with herbs: Try adding other herbs like thyme or bay leaves for additional depth in flavor.
- Ensure proper sterilization: Properly sterilize jars and lids to prevent contamination and ensure a good seal.
- Cool before refrigerating: Allow jars to cool completely before placing them in the refrigerator to maintain crunchiness.
- Wait before tasting: For optimal flavors, allow the pickled okra to marinate for at least 24 hours before enjoying.
Best Side Dishes for Pickled Okra
Pairing side dishes with pickled okra can elevate your meal experience. Here are some great options:
- Cornbread: The sweetness of cornbread complements the tangy notes of pickled okra perfectly.
- Fried Chicken: A classic southern pairing; the crunchiness of fried chicken contrasts nicely with the crispness of the okra.
- Potato Salad: The creamy texture of potato salad balances the acidity of pickled okra, making it a harmonious side.
- Coleslaw: This refreshing dish adds crunch and creaminess that works well with the zesty flavors of pickled okra.
- Grilled Shrimp Skewers: The smoky flavor from grilled shrimp pairs wonderfully with the tangy taste of pickled vegetables.
- Spicy Rice Dish: A spicy rice dish can enhance the heat from the pickles while offering a filling option alongside your meal.
Common Mistakes to Avoid
When making pickled okra, it’s easy to make a few common mistakes. Here are some tips to ensure your pickling process goes smoothly.
- Using non-pickling salt – Regular table salt can contain additives that may cloud your brine. Always use pickling salt for clear and flavorful results.
- Not sterilizing jars properly – If jars aren’t sterilized, your pickled okra may spoil. Make sure to boil jars and lids before use to eliminate any bacteria.
- Skipping the headspace – Leaving inadequate headspace can lead to overflow during processing. Ensure you leave at least 1/2 inch of space in each jar.
- Overcrowding jars – Packing okra too tightly can affect brining. Always pack them snugly but not excessively so they are submerged in the liquid.
- Ignoring cooling time – Removing jars immediately from the canner can cause them to crack. Let them cool for about 5 minutes before transferring them to a cooling area.
Refrigerator Storage
- Store pickled okra in airtight containers.
- It lasts up to 3 months in the refrigerator.
- Ensure the brine completely covers the okra for maximum freshness.
Freezing Pickled Okra
- Freezing is not recommended as it alters texture.
- If you must freeze, place it in a freezer-safe container for up to 6 months.
- Allow thawing in the refrigerator before use.
Reheating Pickled Okra
- Oven – Preheat to 350°F and heat until warmed through, about 10-15 minutes.
- Microwave – Place in a microwave-safe dish, cover, and heat on medium power for about 1-2 minutes.
- Stovetop – Heat gently in a pan over low heat until warmed, stirring occasionally.
Frequently Asked Questions
What is Pickled Okra?
Pickled okra is a type of preserved vegetable where fresh okra pods are soaked in a vinegar-based brine along with spices. This method enhances flavor and extends shelf life.
How Long Does Pickled Okra Last?
Properly sealed pickled okra can last up to one year if stored in a cool, dark place. Once opened, keep it refrigerated and consume within three months.
Can I Customize My Pickled Okra Recipe?
Absolutely! You can adjust spices according to your taste preferences by adding more garlic, different peppers, or even herbs like thyme or bay leaves.
How To Pickle Okra At Home?
To pickle okra at home, follow this simple recipe: prepare your brine with vinegar, water, and salt; pack washed okra into sterilized jars with spices; pour hot brine over them and process in a boiling water canner.
Is Pickled Okra Spicy?
The spiciness of the pickled okra depends on the amount of red pepper or cayenne used. You can adjust these ingredients based on your spice tolerance.
Final Thoughts
This pickled okra recipe is not only easy but also incredibly versatile. It captures the essence of summer produce while adding a punch of flavor to any meal. Feel free to customize the spices or add other vegetables for an exciting twist! Don’t hesitate to try this simple yet delicious way of preserving garden-fresh ingredients.
Pickled Okra
- Total Time: 25 minutes
- Yield: Approximately 4 servings (1/4 cup each) 1x
Description
Enjoy the taste of summer all year round with this easy and delicious pickled okra recipe. This vibrant dish combines crisp okra pods with a tangy vinegar brine infused with dill, garlic, and red pepper for a burst of flavor. Perfect as a snack, in salads, or as a unique topping for sandwiches and tacos, pickled okra is not only versatile but also a healthy addition to your meals. Quick to prepare and long-lasting when properly sealed, this homemade treat allows you to savor the garden-fresh taste of okra long after summer has faded.
Ingredients
- 1 quart fresh okra
- 1 quart white vinegar
- 1 quart water
- 1/2 cup pickling salt
- 1 teaspoon dill seed
- 1 pod red pepper or 1/8 teaspoon cayenne pepper
- 3 garlic cloves
Instructions
- Prepare the brine by boiling vinegar, water, and pickling salt in a pot.
- Wash the fresh okra thoroughly.
- Heat water in a canner with jars inside to sterilize.
- Clean lids and bands with warm soapy water.
- Fill sterilized jars with dill seed, red pepper, garlic cloves, then tightly pack the okra.
- Pour hot brine into jars up to 1/2 inch from the top.
- Wipe jar rims clean before sealing with lids and bands.
- Process jars in boiling water for 15 minutes.
- Cool jars for at least 5 minutes before removing them from the canner.
- Check seals after 24 hours; store sealed jars in the refrigerator.
- Prep Time: 15 minutes
- Cook Time: 10 minutes
- Category: Condiment
- Method: Canning
- Cuisine: Southern
Nutrition
- Serving Size: 1/4 cup / 60g
- Calories: 20
- Sugar: 2g
- Sodium: 400mg
- Fat: 0g
- Saturated Fat: 0g
- Unsaturated Fat: 0g
- Trans Fat: 0g
- Carbohydrates: 4g
- Fiber: 2g
- Protein: <1g
- Cholesterol: 0mg
Grab This Chef Knife Now - Almost Gone!

Leave a Comment